'/%3E%3C/svg%3E)

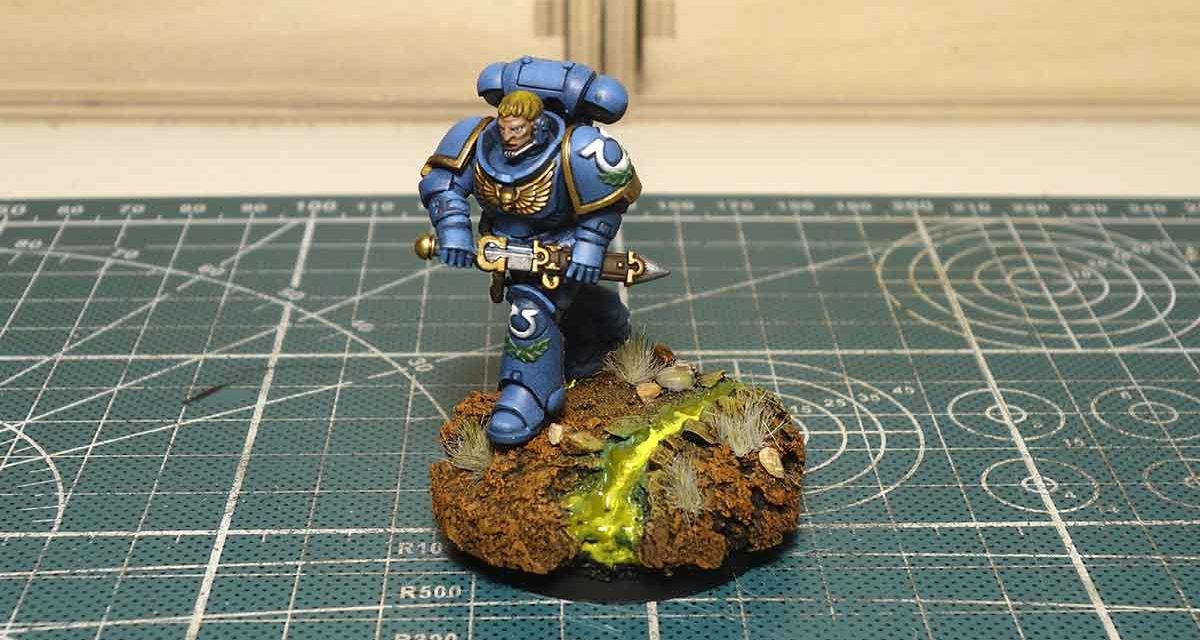
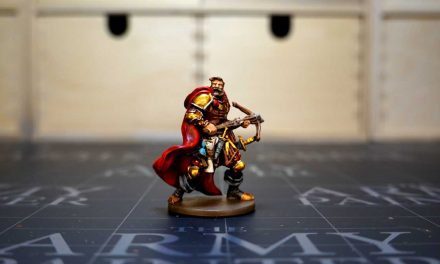
How to base for Warhammer miniatures? This is the question i will try to answer with this tutorial that will help you highlight your miniatures by creating a small diorama. For this tutorial, I chose to use the Lieutenant Calsius miniature from Warhammer Conquest. For this reason, the base is higher and more detailed, a way to enhance the miniature among the many, once exposed. After all, it is not a simple Space Marine.
To make this base, I used almost exclusively waste material, let’s see together which and how.
How to base Warhammer miniatures?
Making bases that are almost small dioramas fascinates me a lot, because it allows us to give a setting to our miniatures. It will also be for this reason that I often position them sideways and not in the center of the base, a way to tell a moment of life of the miniature and also give importance to the setting.
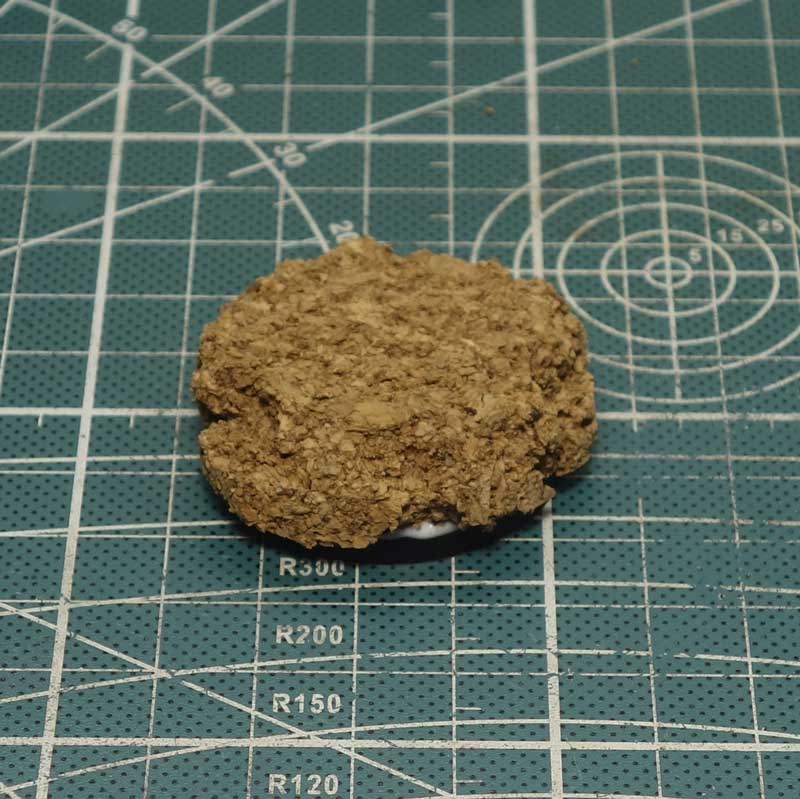
STEP 1: let’s glue the cork to the base
The first thing you will need is a sheet of cork, but you can also use scrap cork like this Ikea trivet. Cut out a piece of the right size and make the edges jagged by crumbling them a little with your fingers. You do not need special glues in this case, to fix the cork to the plastic base, you just need simple vinyl glue. Since the surface is very flat, scratch it with a scalpel to create irregularities. It will help us in the next step to create the texture.

STEP 2: making a texture with sand
Use the vinyl glue again to spread a thin layer that will serve as a fixative for the sand. You can also apply some on the edges, in an irregular way, so that the sand adheres only in some spots. Get some river sand, if you can. It won’t be necessary to buy a whole bag, I’m sure you can find the quantity of a glass in your neighborhood, maybe on a construction site. Consider that a glass could be enough for your entire miniaturist career! Then make the sand rain over the glue, the job will be done by gravity.

STEP 3: adding scenario elements
At this point I thought of making a small diorama by creating the passage of a stream of… slime, radioactive liquid, in short, the type of liquid that the faithful of the Death Guard like so much! To do this, I first dug a passage where the stream would pass. I honestly think I exaggerated a bit, it was not necessary to do it so deep. To keep in mind for the next one …
To make the surface of the cork smooth, I applied some vinyl glue again that will make the stream bed. Drying it will create a smooth layer. At the edges of the stream I applied pebbles selected from the sand, but even here I got off to a good start thinking about using plastic glue… convinced that by drying sooner, the stones would heal quickly. I have not dealt with the sand that has absorbed all the glue. Better to go back to the dear old vinavil: using tweezers, I placed all the pebbles one by one, bathing one side in a drop of glue.
Together with the stones, I decorated the base with the usual human skull … as also done on the base of the Zombicide Zombie. Skulls are always good for us!
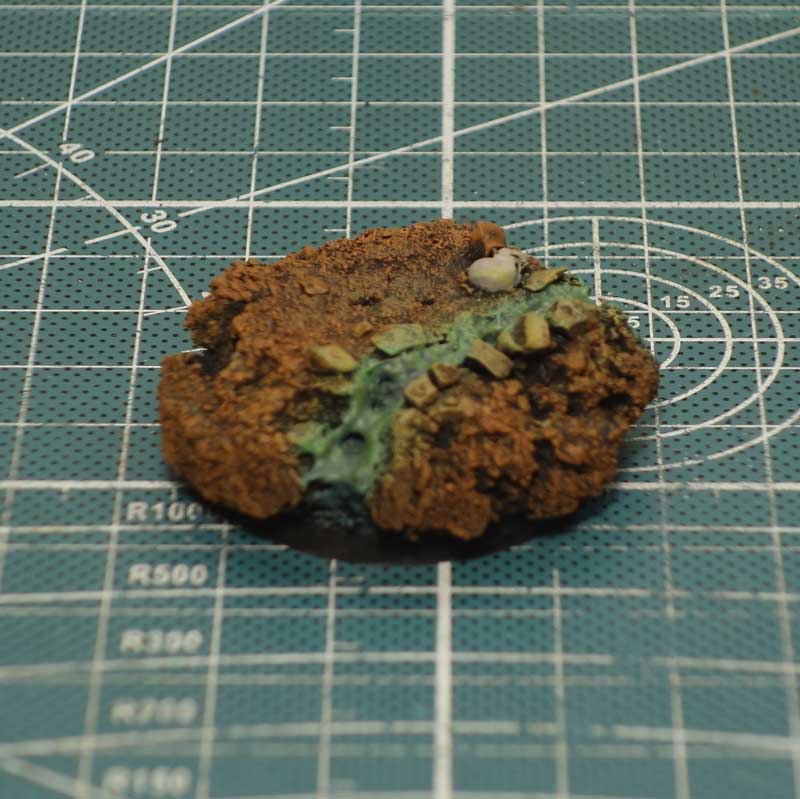
STEP 4: coloring the base
The time has come to color our base! First of all, I gave a black coating with airbrush, but you can use a can primer, it has the same effect. In this case, the primer also has a “glue” function because the drying color also fixes the sand to the glue below.
I diluted the primer more than usual because cork and sand tend to absorb a lot of it, this gave me some problems with the skull , cause since it is made in plastic, it tended to let the color slip. So I had to give several hands and wait for it to dry between one and the other to make it adhere well. Once the primer dried, I applied Dryad Bark using a large flat brush with a dry brush. To color these bases I don’t think one color is enough, but it should be given gradually by lightening the shade from time to time, so after the brown I switched to an ocher, Citadel’s Ungor Flesh, and finally Ryza rust. Always with a dry brush.
After the color I gave a hand of Agrax Earthshade, in order to give depth and create shadows between the stones and the creeks. Only at this point did I deal with the stream, giving a hand of Knarloc Green, an old Citadel color. When you create the backdrop with glue, remember that this will dry out, creating holes. It will not be perfectly flat so you will have to give more to cover them. The risk is to make the mistake I made here, that is, not to cover them and then have to do it with colors, which have a decidedly higher cost than vinyl glue …
Before continuing with the stream, I colored the skull with Rakarth Flesh. With a dry brush then, I went to color the stones at the edges of the stream with an acid green from the Vallejo. A spectacular color!

STEP 5: creating the green toxic slime
Nurgle’s Rot is one of Citadel’s technical colors. It allows the creation of a “nauseating” green transparent layer, which will be shiny once dried. Ideal for vomiting, puss, infections … not surprisingly the name …
This too like vinavil will tend to pull once dried, therefore consider the idea of giving more hand. As you can see, I had to abound to remedy the poor work done with glue. And this is where the “magic” takes place! Let’s go back to using the beloved acid green from Vallejo, this time to give effect to the stream. With a loaded brush, apply the color on the still fresh Nurgle’s rot creating small liquid movement effects. So be careful not to mix them too much while applying it, the two colors must remain separated.
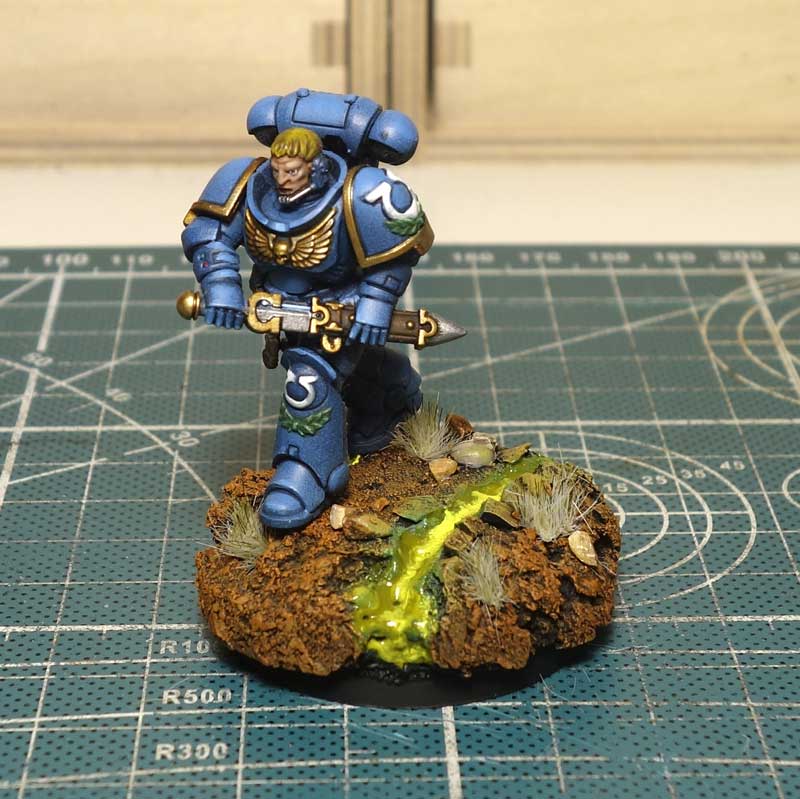
STEP 6: fixing the miniature to the base
One moment! First of all, let’s finish the work on the skull, after giving a shader hand with the usual Agrax Earthshade, I highlighted with The Army Painter’s Skeleton Bone. Well, now we can take care of the decorations. I got these tufts of grass from Green Stuff World, they have an almost dry grass color that seems to me the most suitable for the “haunted” scenario I am making for the Warhammer Conquest miniatures.
To maintain a realistic touch, I have selected some small pebbles from the sand, all of the same orange color that suits the colors of the ground. When applying these little details, remember that the glue only goes on one side. The vinavil is in fact shiny, therefore avoids it ending up where it could then be visible. To fix the miniature to the base, I first pinned it, that is, I pierced the feet and applied a small piece of wire. You won’t need much of it so you can also use an attaches. Dirty the two pins with some color in order to mark where you will have to go to pierce the base in order to fix the miniature.
Create holes in the two points with a hand drill for modeling and apply glue to the pins and feet so that it adheres perfectly to the base. Do not overdo it with glue or, as mentioned before, you may find shiny spots near your feet … decidedly unsightly. As a final touch up, apply a brush stroke of black with a flat brush to cover any possible color staining.
Conclusions
I believe that spending more time at the base of our miniatures can only enhance and enhance the work done on the miniature itself. If then like me you make miniatures for display, it becomes practically a must have! My shelf with the Death Guard on one side and the Space Marines on the other is taking on the appearance of a war scenario thanks to all the finished sideburns.
Remember then that if you don’t have a skull, you can always use unused parts of miniatures such as shoulder straps, arms or heads. In short, room for imagination!