'/%3E%3C/svg%3E)

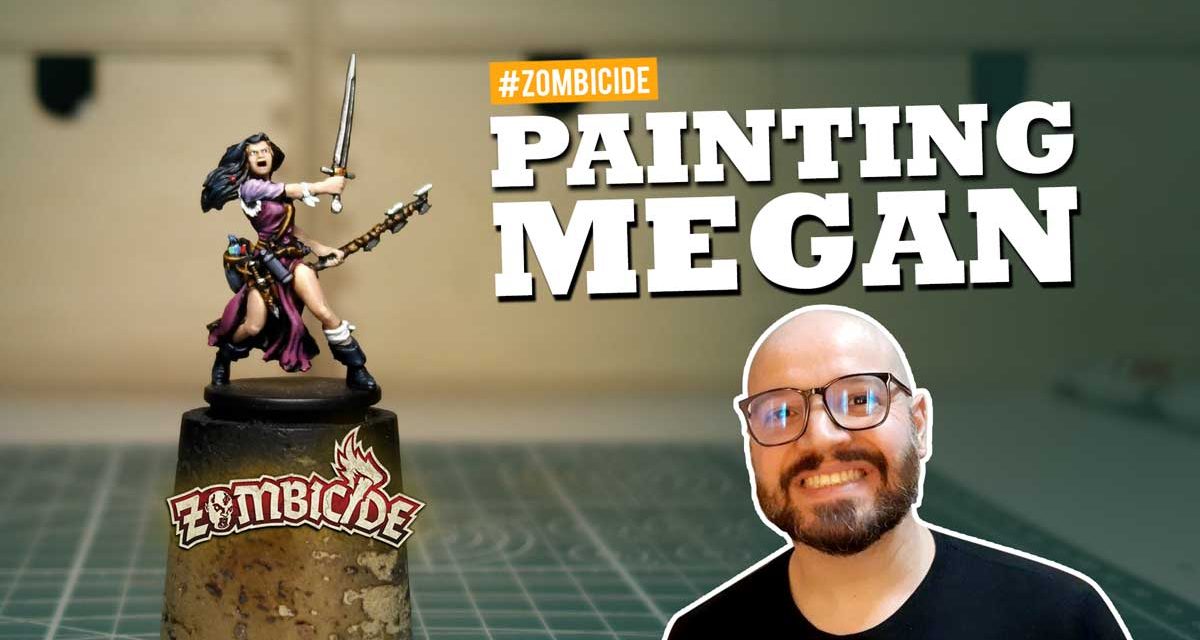
We continue on painting Zombicide’s miniatures, this time with Megan! One of my favorite Zombicide Green Horde heroes. In fact, the miniature has a particularly energetic pose, the hair in the wind and long clothes give it movement and dynamism. But let’s see immediately how to paint this miniature of Zombicide Green Horde.
Painting Zombicide’s miniatures: cleaning and primer
As always, the miniature must be cleaned from excess printing. To do this, I used the usual scalpel. At this stage, pay particular attention, I assure you that the cutter hurts … safety first of all, even in hobbies, never underestimate the tools you have in your hand.
As with all the miniatures that we will paint in this series of videos, I gave a Vallejo black primer by airbrush. Maybe with the next videos we also start talking about zenithal highlights. But that’s another story …
Before we start painting, let’s think: look at the miniature and try to imagine where the light comes from. Also experiment with a lamp and photograph the miniature before painting it. It will help you understand how the light on the curves of the miniature you are about to paint behave and understand how to use color.
Studying your miniature from the point of view of light helps you understand its shapes, materials and how light behaves on it. A way also to go beyond the classic “base color + shader + highlight” system.
Painting the miniature with base colors
After analyzing the light on the miniature, I started coloring the parts related to the complexion, in this case legs, arms and face. I used a mix of different flesh colors to achieve the light shade I wanted for Megan.
I then went to the dress, where I used a mix of Vallejo 70.959 and Citadel’s Khorne Red, to obtain a purple that would fit the illustration on the character’s playing card.
In giving this color, as I did for Rolf, I avoided spreading it evenly, trying to use the black primer to accentuate the shadows inside the folds of the dress. I diluted the color so that each brush stroke was subtle, leaving a glimpse of black. In this way, giving more hands the color is enhanced in the areas where I want it to be brighter.
For the blouse, I used the usual Vallejo violet, lightened with Citadel’s Celestra Gray. The intent is always to create basic colors that come as close as possible to those of Megan’s official illustration. Again, to accentuate the shadows I left the part under the arm in black.
With these videos I’m having a lot of fun painting Zombicide miniatures, also because of the many details that characterize them, for example the scarves on the arm and leg of Megan, which I colored with a Celestra Gray base. You may be wondering “why not use white directly?”. Because white on a black background makes it very bad. As previously mentioned, the color must be built. The white will come later, we start first from dark bases and then go to lighten. The result will be white scarves, but with gray shadows that will give them depth.
The topic of highlighting also applies to hair. You can’t think “well yes the hair is black, I leave it like this with the color of the primer”. No … it doesn’t work. You have to give shades to the parts exposed to light in order to enhance the movement of the hair. To do this, I used a dark gray with a blue tip, a color that I also used for my bag and boots.
The time has come to devote himself to the leather and wood parts. Of the materials for which I now almost always use the same colors: Mournfang Brown and Iyanden Darksun. The first as a base, the second as a highlight.
Now that the color on the skin is definitely dry, I have given a touch of highlight that has gone to lighten the color used as a base with a skin color that I rarely use alone, because I find it too light. In this case, however, it was perfect for Megan. I’m talking about Vallejo 70.815, Basic Skintone.
At this stage, it is important not to load the brush with a lot of color, on the contrary, it should be used little and diluted, giving many hands. The color dries quickly and I can go and give another coat after a short time.
Painting Zombicide’s miniatures: shaders
This time with the shaders I went light, diluting the colors to 50% with a medium from Vallejo. In this way I got a thinner shader that I could manage better once on the miniature. I started with Reikland fleshshade for the complexion, concentrating the color where the arms and legs meet the clothes. For the dress I used Druchii Violet, also in this case, to concentrate the color in the folds and in the more shaded parts.
Painting the metal parts of the miniature
For metals, well I am not a lover of Non Metallic Metal … it will be for incapacity but I find it a virtuosity of style, I prefer the classic True Metallic Metal. This is why I used simple Army Painter Shining Silver for the blades.
With a hint of gold, I colored the central detail of the sword. I then colored my eyes and mouth but in doing so I made a mistake, which forced me to take back the pink of the skin to cover up the error.
For the eyes I first gave a black background, then a white one leaving a black border, finally a black tip (and bated breath) for the pupils with a thin brush. I finally concluded the miniature by coloring some details such as the bottles in the bag. However, I messed around a bit trying to paint white reflections on the glass. The brush was too loaded and it stained everything white. So I went over the colors of the bottles to fix.