'/%3E%3C/svg%3E)

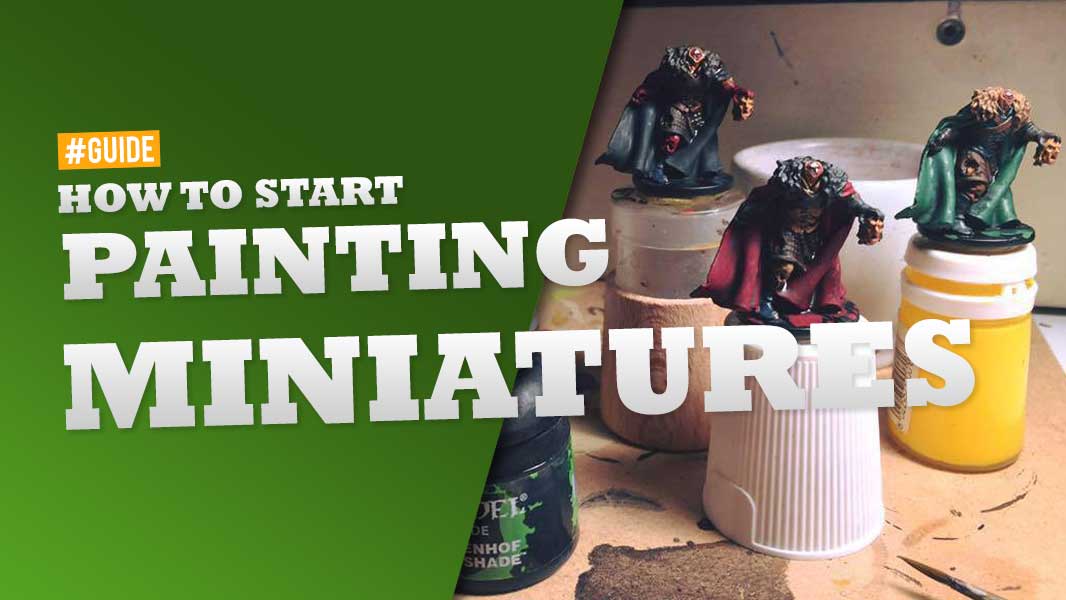
In many of the various social media channels I use, you asked me for advice on how to start painting miniatures, what colors to use and where to find them. So I decided to write this guide down, trying to put in all the collected experience after hundreds of hours spent on this hobby.
How to start painting miniatures
First of all, you need to understand what you want to do. If you are interested in painting only the miniatures of your new board game, like Zombicide for example, I suggest you start with one of the Army Painter painting sets for Black Plague, Urban or Invader. They are color sets designed for Zombicide at an affordable price, which give you a range of essential colors to paint zombies or survivors, along with a brush.
In general: to start, you should buy the colors you need only for the miniatures you are about to color.
Alternatively, if you want to color various types of miniatures and are therefore interested in starting this hobby, I recommend buying a basic set of colors that can be composed as follows:
- White
- Black
- Yellow
- Red
- Blue
- Silver
- Black Wash
- Brown wash
These are the minimum colors needed to start painting miniatures of any project. This is because, as you know, yellow red and blue are primary colors and, if mixed together, they can give all the colors you need. Silver will be used for “iron” components, such as rifles or swords, often found on miniatures. We’ll talk later about washings or washings.
Clearly obtaining certain shades of color is not as simple as it may seem and color waste is guaranteed. For this in a second moment, above all if the pockets don’t allow a complete purchase immediately, the suggestion is to take another set of colors as follows:
- Brown
- Rose meat
- Green
- Heavenly
- Orange
- Violet
- Gold
This will also guarantee you not to go crazy to find the same shade of color that you had previously created.
To these you can follow any purchase of the color that suits you best, perhaps choosing it from time to time based on the subject you are going to paint.
“It is clear, but which companies produce these colors? And where do I buy them? “
The main manufacturers of colors for miniatures are 3:
To start, you can buy ready-made kits as mentioned above, and expand them with colors more suitable for your heroes or new projects. Two kits to consider are those of Vallejo, which you can find at this link and another one.
On the Games Workshop website you can find the nearest retailer where you can buy Citadel colors, as well as for Army Painter, while for Vallejo colors you just go to any model shop, and then as in the previous links, there is always Amazon.
For what it is my experience, I can tell you that Citadel colors are the ones with the best yield, but also those with the highest quantity / price ratio and with the most uncomfortable dispenser. Vallejo and Army Painter cost less and have more convenient dispensers to use, especially if you want to play mixing colors. Remember then that Army Painter provides ready-made color sets for Zombicide. Vallejo is instead the home with the widest color range of all. So the solution I adopted is to buy colors from all three houses based on need.
What brushes do you use to start painting miniatures?
You will need different brushes for different techniques. So buy some low-cost ones like these, and at least a couple of qualities: one for details and one for larger areas. Both Army Painter and Citadel offer good brushes, but if you want the best, at a cost of around € 13 per brush against the € 4.50 of Army Painter, you have to go to Winsor & Newton, Series 7 in particular. To start with, I recommend the Army Painters, they are cheap and do their job.
Techniques for painting miniatures
Now that you know what you need, let’s move on to using them. First clean the thumbnail. With a scalpel and razor blades, remove any residue from the mold and wash the miniature with warm water, hand soap and an old toothbrush. Make sure it is dry before starting to paint, but especially make sure the residues are well removed. It’s a boring job, but I assure you that the color will greatly enhance lines and residues that have not been removed.
How to use primer on miniatures
Painting directly on the plastic does not give a homogeneous yield, the acrylic colors will never adhere well if used directly on the miniature. For this reason, first of all, a first uniform layer of primer must be applied. Primers are colors that provide the first layer on which to paint and can be of different colors. I prefer black for the heroes of Zombicide, while for the Zombies you can use a dedicated one. Usually to facilitate the drafting they are sold in spray cans, the best ones, even for the reduced price, are those Army Painter. For the zombies, I used Army Painter’s “skeleton bone” and “necrotic flesh”, which prevented me from painting the meat parts.
Here are the references:
- BLACK
- WHITE
- SKELETON BONE
- NECROTIC FLESH
How to start painting miniatures: the basic colors
After the primer, all the colored areas must be given a base coat of color, I advise you not to use too dark colors at this stage since with the subsequent “washes”, or wash, they will darken.
Washes
The third step as mentioned is the washes. Washes are much more liquid and diluted colors, which for this reason tend to stick to the inlets of the miniature by capillarity, giving effects of light and dark shadows that give depth to your subject. If you followed the “buying guide”, you will have two washings, brown and black. I’ve tried all brands, but the best ones remain Citadel ones. “Agrax earthshade” (brown) and “Nuil oil” (black) are a must. You can’t help it. With time and experience you will be able to buy other washings: meat, green, purple, are among those I use the most.
Spread a uniform coat over the entire surface you intend to wash and make sure it is well present in the areas you intend to darken, while in the areas most in light remove it using the brush.
The Highlight of the miniature
At this point, reuse the data colors as a basis for restoring brightness to the areas most exposed to light. By adding some white or using a lighter variant of the same basic color, you can give even more brightness to give even more depth.
Alternatively, there is a technique called “dry brush”, dry brushes, which consists of brushing a certain area of color with a brush, making sure that the brush is completely discharged of color. Initially the drybrush can give good results, over time I have personally started to prefer the brush highlight described above.
Remember that a shirt is not only red or green, jeans are not just blue. You will have to give more colored hands of different shades to give depth to the miniature.
An extra touch that makes the difference: work on the details
At this point you only have to color the most minute details such as eyes, studs, laces and more.
To summarize: primer-base-wash-highlight-details. This sequence will be a mantra for you in this hobby.
Conclusions
There are also different techniques and different colors and more technical products to obtain various effects, such as rust, blood, dry earth, but we will talk about these in other more dedicated articles. I hope this guide helps you decide where to start, remember that this is a hobby that gives great satisfaction, but that requires a lot of practice. Today with social media it’s much more fun, there are entire communities that can give you advice and online, especially on youtube, you can find lots of videos that can explain you how to paint miniatures, exactly how you want them!
Finally, remember that if you want, you can follow my work on Instagram or on YouTube.